By Michael Savage, New Canaan, Connecticut
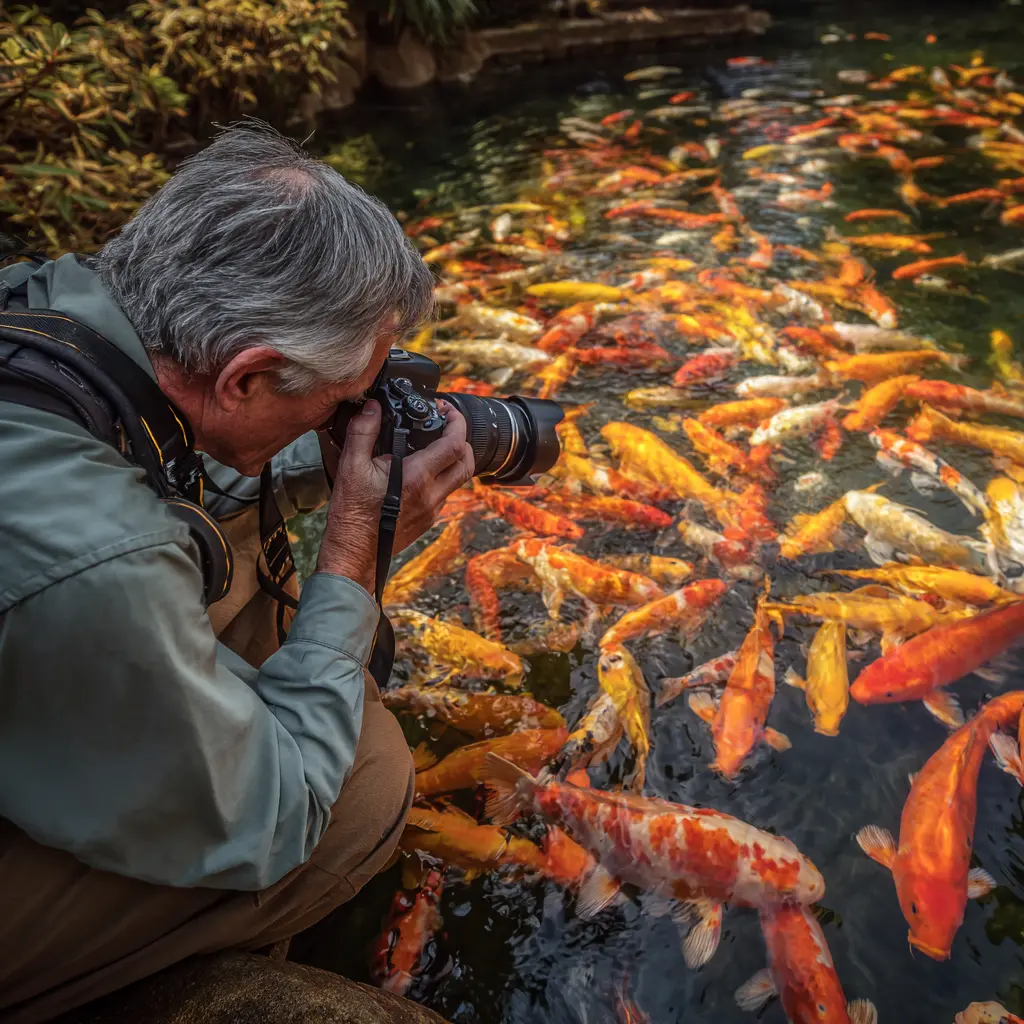
I spend a lot of time at the edge of my koi pond. Watching these fish move is almost meditative — the flash of gold and white, the deliberate sweep of a fin, the way a platinum koi rises to the surface and seems to hang in the water like a living jewel. A few years ago I picked up a camera and started trying to capture what I was seeing. What started as casual snapshots quickly became its own obsession, one that sits at the intersection of two things I love: the patience that koi keeping demands and the sharp attention to detail I carry into everything I do.
I am not a professional photographer. What I am is someone who has made every mistake in the book — blurry shots, blown-out reflections, photos where the fish look flat and lifeless compared to the real thing — and who has gradually, through trial and error, figured out what actually works. This is my attempt to put all of that into one place for fellow koi enthusiasts who want to do their fish justice on camera.
Understanding Your Subject Before You Pick Up a Camera
The single biggest thing I tell anyone who wants to photograph koi is this: spend time watching before you start shooting. Koi are creatures of habit. They have feeding routes, resting spots, and predictable surface behaviors. Once you know your fish — really know them — you can anticipate the shot rather than chase it.
This is especially true for the fish you want to feature. My pond has about thirty koi at any given time, but only a handful are photogenic stars. The big Kohaku with the dramatic red pattern across her back? She always drifts into the deepest part of the pond just before feeding time. The young metallic Ogon? He loves the shallows near the waterfall in the morning. Knowing these tendencies means I am in the right spot with the camera ready, not scrambling after a fish that has already disappeared under the lily pads.
Understanding koi behavior also connects directly to their health and wellbeing. A lethargic fish that lingers at the surface is not posing for you — it may be in distress. I always cross-reference what I see through the viewfinder with what I know about common koi health issues, because a great portrait starts with a thriving subject.
Gear: You Don’t Need to Spend a Fortune
I shoot with a mid-range mirrorless camera and a macro-capable zoom lens. That combination handles most situations in and around the pond. But honestly, I have taken some of my favorite koi shots with a modern smartphone. The camera matters less than the technique.
That said, there are a few pieces of equipment that make a real difference:
Polarizing filter. This is the single most impactful purchase I have made for koi photography. A circular polarizing filter screws onto your lens and dramatically cuts the surface glare and sky reflections that turn a koi pond into a mirror. With a polarizer, you can shoot through the water surface and see the fish clearly. Without one, you are largely at the mercy of the light.
Fast lens or a high burst rate. Koi look slow but they move faster than you expect when you are trying to freeze a specific fin position. A lens with a wide maximum aperture (f/2.8 or wider) lets you use a faster shutter speed. Alternatively, a camera with a strong continuous shooting mode lets you fire a burst and pick the best frame.
Waterproof housing or an underwater point-and-shoot. Not essential, but if you want truly stunning portraits shot from beneath the surface, a dedicated underwater camera or housing opens up a completely different visual world. The scale, color saturation, and drama of an underwater shot are unlike anything you can achieve from above.
For a deeper dive into technique from an optical science perspective, the guides on Photography Life are some of the most thorough I have found for understanding water refraction and how light behaves differently when you are shooting into or through a water surface.
Light Is Everything: The Best Times to Shoot Your Pond
If you read anything about landscape or wildlife photography, you will keep hearing about “golden hour” — the period shortly after sunrise and before sunset when the light is warm, directional, and flattering. The same rule applies to koi photography, but with an important twist: pond reflections.
In the hour after sunrise, the sun is low and coming from one direction. Position yourself so that the sun is behind you or at an angle. This places the light on the water surface rather than the sky’s reflection, which means less glare and better visibility into the pond. The warm color temperature at golden hour also does extraordinary things to the orange, red, and gold tones in koi — colors that can look washed out under harsh midday sun.
My favorite conditions are a bright overcast sky with no direct sun at all. The clouds act as a giant diffusion panel, eliminating harsh reflections while keeping the light bright enough for fast shutter speeds. Counterintuitively, these “dull” days produce some of my most vibrant koi shots because the colors in the fish really pop against the soft neutral water.
Harsh midday sun is your enemy. The sun overhead creates specular reflections across the entire water surface, and the high-contrast light tends to blow out the white and metallic areas of koi while leaving the darker patterns underexposed. If you are stuck shooting at noon, use your polarizer, find a shaded section of the pond, or wait.
Season matters too. The long summer days that are wonderful for keeping your koi healthy through the heat also bring more sky reflection to deal with. Spring and fall, when the sun tracks lower across the sky, often yield the most manageable lighting conditions for pond photography.
Camera Settings for Sharp, Vivid Koi Portraits
Here are the core settings I use as a starting point, adjusted from there depending on conditions:
Shutter speed: 1/500s or faster. Even when koi appear to be drifting gently, any fin movement will blur at slower shutter speeds. For active feeding behavior, I push to 1/1000s or higher. Motion blur can be artistically interesting in some contexts, but for portraits — where you want to see the pattern and scale detail clearly — sharpness matters.
Aperture: f/5.6 to f/8. A very wide aperture creates shallow depth of field which can look beautiful for a single fish close to the surface. But koi are three-dimensional — a big fish turning toward the camera can span several inches in depth. Stopping down to f/5.6 or f/8 gives you enough depth of field to keep the whole fish in focus.
ISO: Keep it as low as conditions allow. High ISO introduces noise that particularly damages the fine scale patterns that make koi beautiful. In good morning light I can shoot at ISO 200 or 400. On darker days I push to ISO 800 or 1600. Modern cameras handle high ISO far better than they used to, so do not be afraid to let it climb if that is what it takes to hold your shutter speed.
White balance: Shade or cloudy preset. Auto white balance tends to strip out the warm tones that make koi colors so appealing. I shoot in RAW format whenever possible so I can adjust white balance in post without any quality loss. If you shoot JPEG, dial the white balance toward the warmer side.
Focus mode: Continuous autofocus (AF-C or AI Servo). Single-shot autofocus is frustrating with moving subjects. Continuous autofocus tracks the fish as it moves, making it far easier to keep your subject sharp through a burst of shots.
Composition: How to Frame a Koi Portrait
Koi photography follows the same compositional principles as any portrait photography, with a few pond-specific considerations. Here is what I keep in mind:
Lead with the head. Koi portraits work best when the fish is moving toward the camera or positioned with its head toward the center or leading edge of the frame. A fish swimming away from you — even a gorgeous specimen — is rarely a compelling image.
Use negative space. The water around a koi is not dead space — it provides context, shows the pond environment, and creates visual breathing room that focuses attention on the fish. Resist the urge to crop too tightly. Some of my favorite shots feature a single koi with a sweep of clear water around it.
Look for reflections intentionally. While surface glare is usually the enemy, a soft partial reflection of a koi can add a beautiful symmetry to a composition. When you see it happening, lean into it.
Shoot from water level when possible. Getting low — crouching or even lying at the pond’s edge — transforms your perspective. Shooting down from standing height gives you a map-like view of the pond. Shooting from water level gives you eye contact with the fish and a far more intimate, compelling image.
Using Technology to Support Your Photography
One thing I have noticed is that the digital tools available to koi keepers today can actually support photography planning as much as pond management. My review of koi pond apps covers several tools that track feeding schedules and fish behavior — and that behavioral data is directly useful for predicting the best shooting windows. If your app tells you the fish are most active thirty minutes after feeding, that is your photography window.
Post-processing is where a good koi shot becomes a great one. I use Lightroom for the bulk of my editing. The adjustments that make the biggest difference are clarity (adds micro-contrast that makes scales pop), vibrance (boosts the more muted colors without oversaturating the already-vivid ones), and targeted color correction to warm up the orange-reds and keep them from shifting toward magenta under certain light conditions.
For anyone interested in understanding the science behind why koi colors photograph the way they do, National Geographic’s resource on koi covers the biology of koi coloration — useful context for understanding why a platinum Ogon photographs so differently from a deeply pigmented Showa.
Making Photography Part of Your Koi Keeping Practice
Over time, I have come to see koi photography less as a separate hobby and more as an extension of being a thoughtful koi keeper. When you are paying close attention to how your fish look on camera — their posture, their surface behavior, the sharpness of their pattern — you notice things you might otherwise miss. Early signs of disease. Subtle changes in a fish’s behavior. The gradual development of a young koi’s pattern.
I encourage fellow enthusiasts to build photography into their annual pond goals. My piece on New Year resolutions for koi pond enthusiasts includes documentation as one of the most underrated things you can do for your pond — and a solid photo archive of each fish is exactly that kind of documentation.
Start with the fish you know best. Get down low, get your polarizer on, wait for that overcast morning light, and fire a burst when your star koi glides into position. Review the shots, learn from what did not work, and go back out. That iterative process of observation, patience, and refinement is exactly what koi keeping has always been — now with a camera in hand.
About the Author
Michael Savage is a New Canaan, Connecticut-based entrepreneur, koi enthusiast, and LEGO collector. He is the founder and CEO of 1-800Accountant and writes regularly about his passions.